![]() Cross-platform transfer solution for all smartphone users to transfer content between Android and iOS, transfer data from iTunes, iCloud, iTunes library to mobile phone.
Cross-platform transfer solution for all smartphone users to transfer content between Android and iOS, transfer data from iTunes, iCloud, iTunes library to mobile phone.
![]() > How-To > How to Backup Photos to PC Compressed?
> How-To > How to Backup Photos to PC Compressed?
How to Backup Photos to PC Compressed?
With so many functions, the phone is not only a tool to communicate. We use it to chat, take photos or videos for fun, make monos, etc. There will be so many good memories in the Phone. And these pictures or photos are so precious memory for us. So how to keep the photos for a long time avoiding phone crash? One idea is to store photos online. The other is to backup photos to PC.
Store Photos Online
Online data storage has been so popular and common. The iCloud Photo Library along with the photo app as a normal way of iOS users to manage and store their photos. With iCloud Photo Library, it provides a very reliable way to back up your best moments which you can easily access on all your devices as long as you have connected with internet. It offers a 5 GB free iCloud storage space that you can use to upload and keep any images on your iPhone.
Steps:
- Use the latest version of iOS.
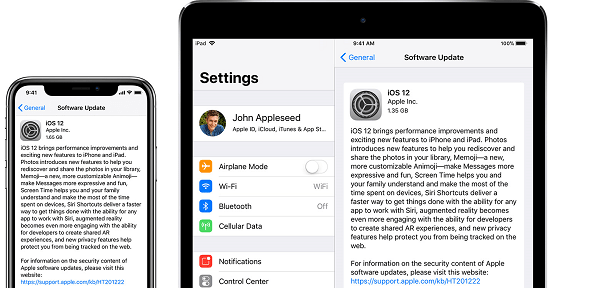
Make sure that your device is running the latest version of iOS. Go to Settings > General > Software Update. See if there’s an update available.
- Sign in.
Go to Settings and sign in to your device with your Apple ID. When you sign in, iCloud is turned on automatically.

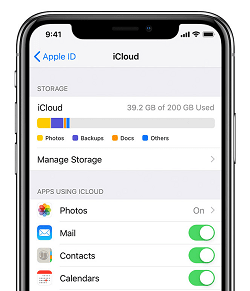
- Check your iCloud settings Go to Settings, tap [your name], then select iCloud. Choose the apps—like Photos, which you want to use with iCloud.
Shortage of it:
Some feature requires the latest version of iOS, so you need to update the system up to date.; There is only 5 GB free space. It's easy to out of free space and you need to buy more iCloud storage or delete content.The Other Idea Is to Backup Photos to PC
This is the most easy and economic way and there are so many tools can help us to do it.
Here we introduce PanFone to backup the photos.
PanFone iOS Eraser is a iPhone data management tool. With PayFone iOS Eraser, you can compress the photos on your mobile and backup them to your pc. Got it? It is not only a tool to backup, it also compress the photos during the storage. There is no colour-missing when compressed.
Download
Win Version
Buy Now
Win Version
Steps to Backup Photos to PC with PanFone
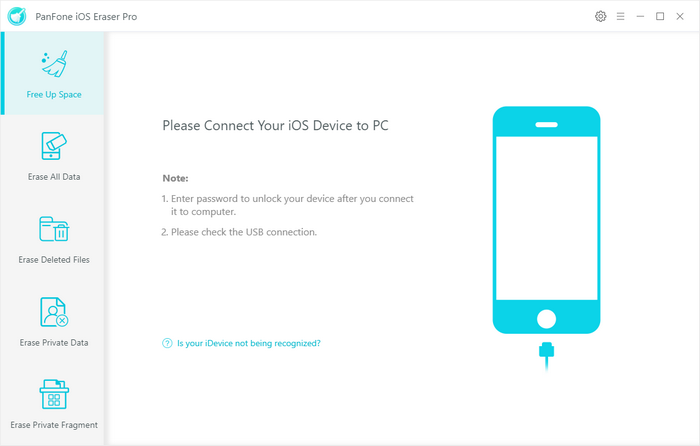
Step 1 Launch PanFone iOS Eraser on your computer. Then connect your iPhone with it.
Step 2 Once connected, PanFone shows the panel interface of "Free Up Space" by default. There are 6 categories "Junk files", "Temp Files", "Camera Roll", "Photo Library", "Large Files and Apps".
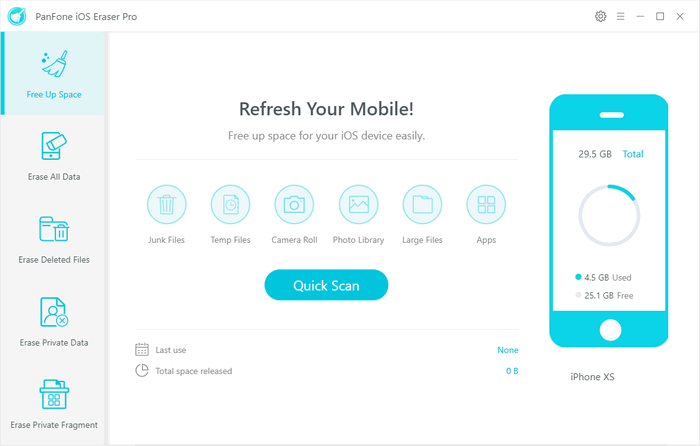
Click "Camera Roll" and PanFone starts scanning.
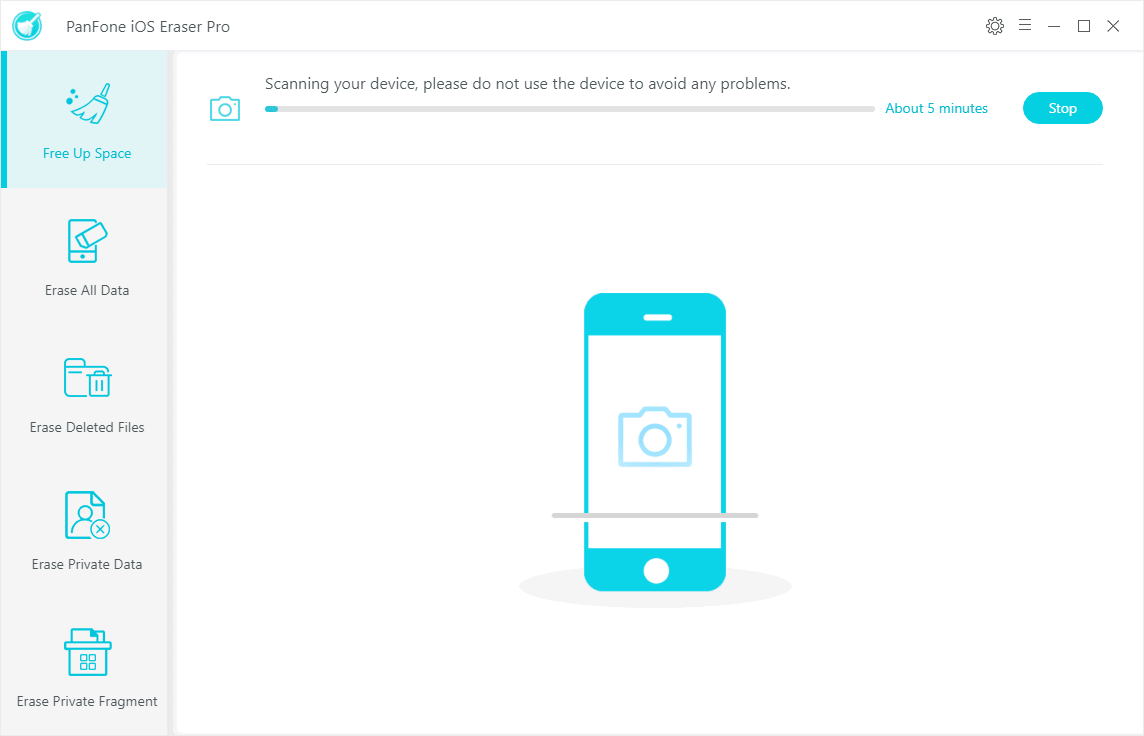
Step 3 The finish page will list the scan result.
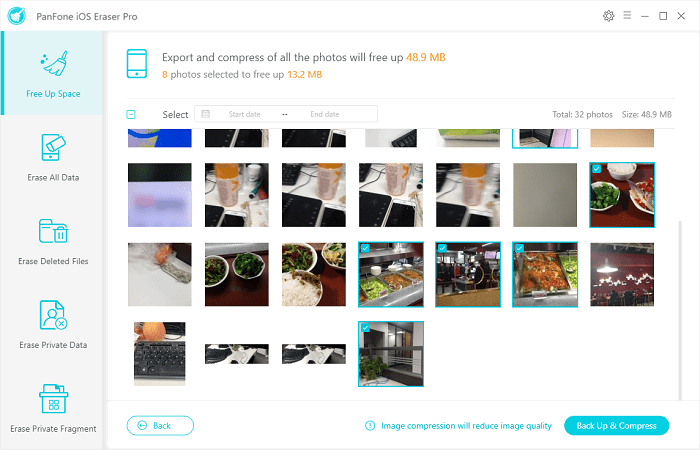
Choose the photo(s) you want to backup. Then tab button "Backup & Compress". There will pop up windows explorer for you to choose a place to store the photo on your PC.
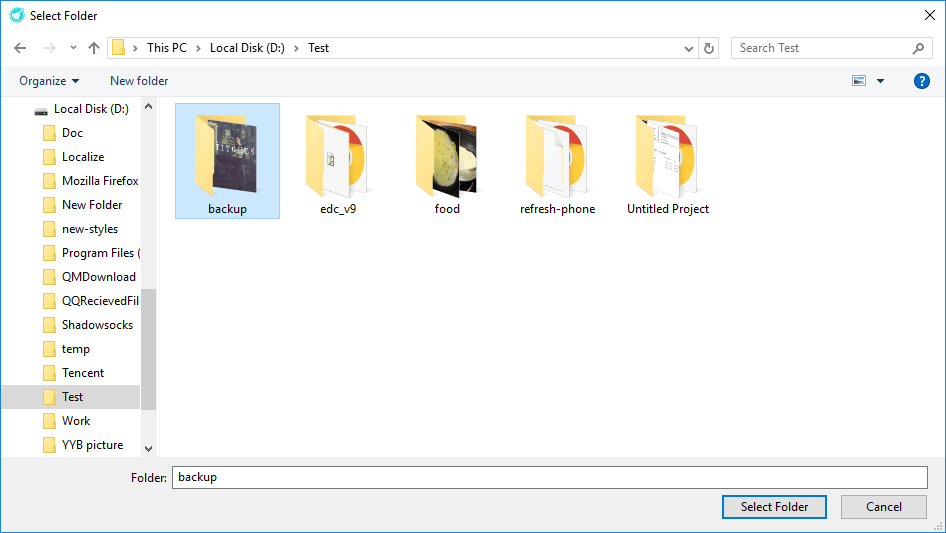
Click "Select Folder" and the compress&backup begin.
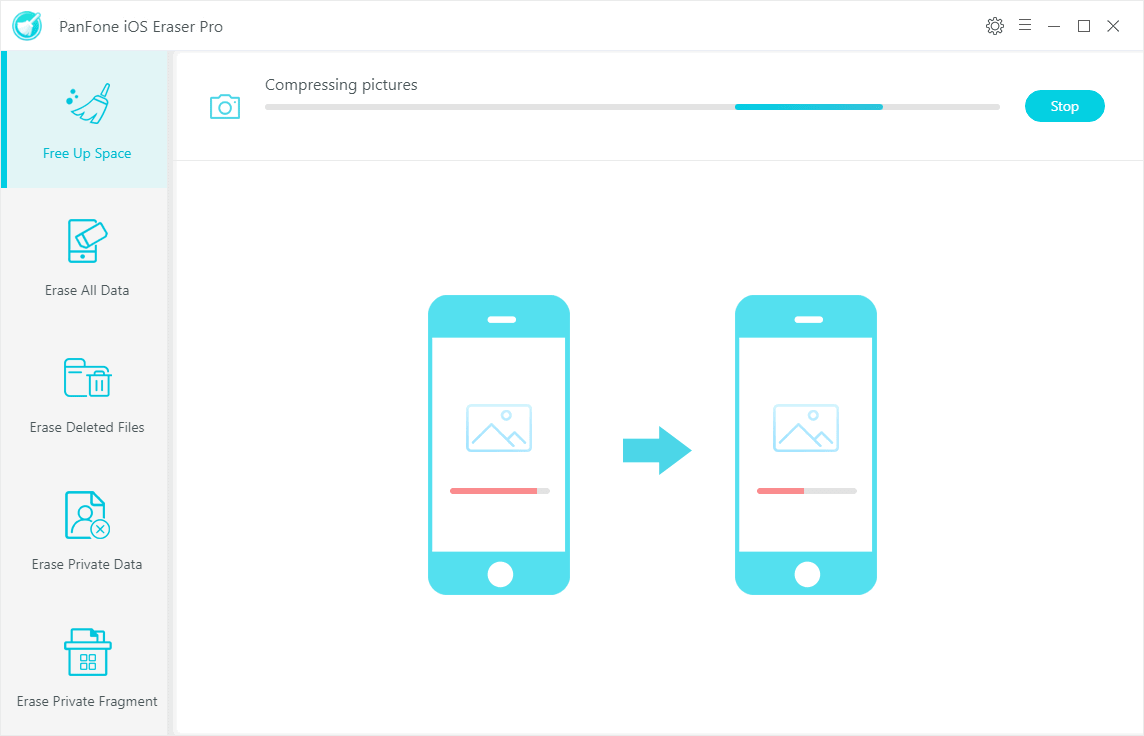
Step 4 When the backup and compress is finished, PanFone will display a success info like below image. You can click "Open backup folder" to open and view the backed up photos on your computer.
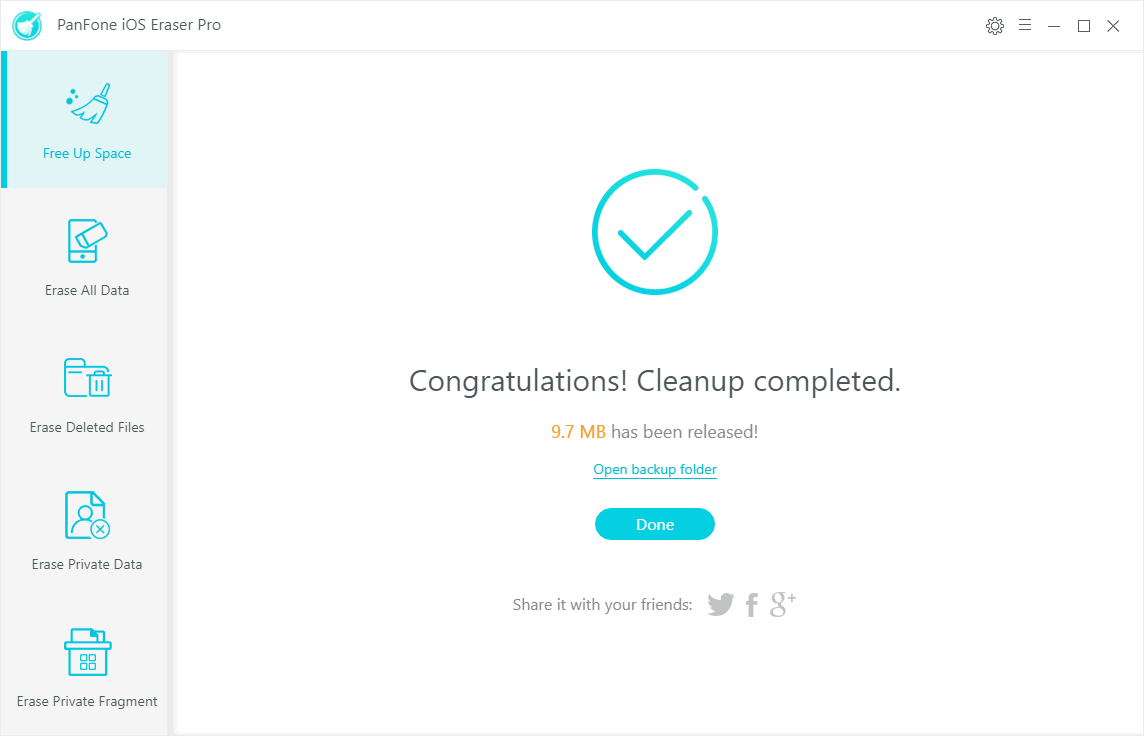
Click "Done" to back to the "Free Up Space" panel.
Till now, you have backed up the photos to your PC successfully. You can get it back on any device any time.
Notes: The photos that have been compressed and backed up will not show in next scan result of "Camera Roll" any more, but it still exist in your device.
Download
Win Version
Buy Now
Win Version