![]() Cross-platform transfer solution for all smartphone users to transfer content between Android and iOS, transfer data from iTunes, iCloud, iTunes library to mobile phone.
Cross-platform transfer solution for all smartphone users to transfer content between Android and iOS, transfer data from iTunes, iCloud, iTunes library to mobile phone.
![]() > How-To > How to Erase the "Deleted" Files Permanently on iPhone?
> How-To > How to Erase the "Deleted" Files Permanently on iPhone?
How to Erase the "Deleted" Files Permanently on iPhone?
When you do a deletion on iPhone, where are the deleted files gone? Are the deleted file really "deleted"?
If what you want to do is to permanently delete the files, this article will be of help.
Where do the "Deleted" file go?
As an iPhone user, you will want to know what happens when you delete files on your iPhone. Well, what really happens when you delete folders or files, the data will be sent to the deleted files folder. (There is a folder named "Recent Deleted File"). Ultimately, this will remove the deleted file or folder from any devices to which they are been synced in, but this doesn’t mean they are really removed. The hackers and other person can easily get these files such as bank account details, social media passwords, sensitive videos, and important messages, unless you use a tool to erase deleted files on iPhone permanently .
How to Erase Deleted Files Permanently on iPhone
There are few ways which can permanently erase deleted files on iPhone. From the security reason, we recommend to get these files deleted by PanFone Data Eraser, which can surely remove the deleted files permanently on iPhone.
PanFone Data Eraser is a tool to delete those sensitive files, iOS data, etc. It so powerful that once used to delete files, which is gone and can never be recovered. So, we really advise that you back up those important files before deleting them because they can never be recovered once you delete them.
Features of PanFone iOS Data Eraser
PanFone iOS Data Eraser Pro helps you erase data from iOS device to protect your privacy.
- Erase data on iOS device completely with nothing recoverable.
- Wipe 10+ social apps data: WhatsApp, LINE, WeChat, Kik etc.
- 100% secure private data when switching phones.
- Erase deleted files and private fragments with no chance to recover.
- Clear junk files and speed up iPhone/iPad.
- Support for all iOS device running iOS 7 and above (including iPhone XS).

Steps
Step 1 : Click the above button to download PanFone Data Eraser and install it on your PC.
Step 2 : Launch PanFone Data Eraser and connect your iPhone to your computer.
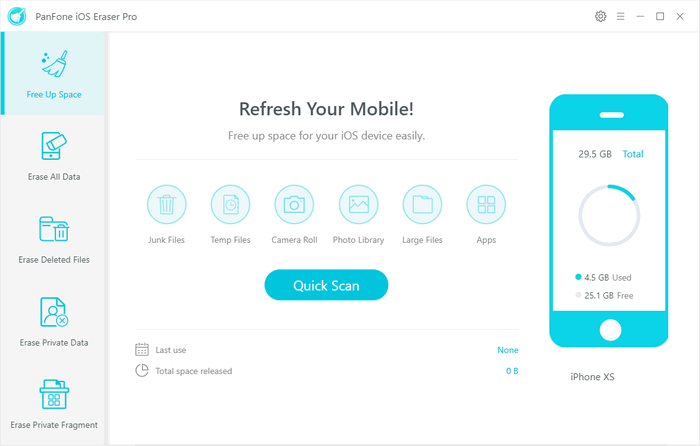
Step 3 : Choose "Erase Deleted Files" and simply click on the button Erase.

Programs stars the scan.
Step 4 : When it list all the deleted items, we can choose the one we want to remove from iPhone permanently. Check the item and click "Erase Now"
- Low Level: Just remove data. Replace them with modified data and delete these data again. All data are destroyed and and unrecoverable. This level of erasing is the fastest.
- Medium Level: Remove the existing data and overwrite them with random data and then delete them again. Leave no trace of erasing after the deletion to make sure the deleted data 100% unrecoverable.
- High Level: The longest and most secure data destruction option to write over the data three times, the security standard of which is based on the U.S. DoD 5220.22-M. It's highly recommended if you have stored any important private data on your iPhone/iPad, such as bank records, passwords, etc. Generally, we recommend user to use the Medium Level, which is enough to make sure of your personal information safety.
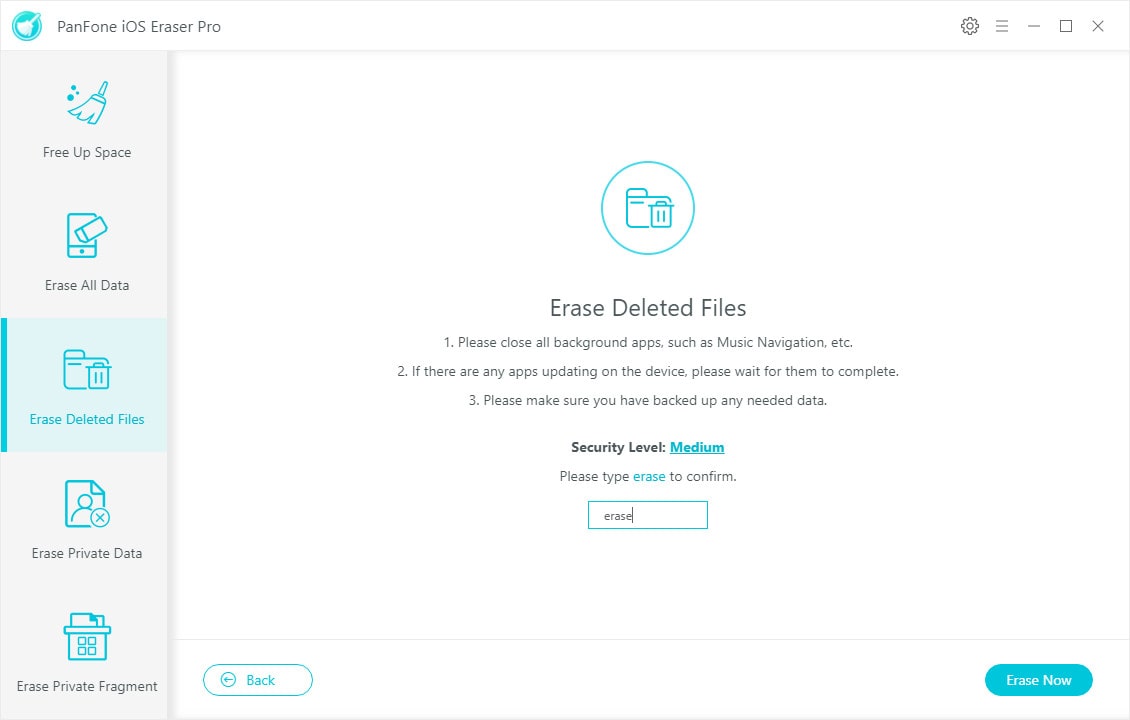
Step 5 : Confirm your deletion by inputting words “erase”, and click “Erase Now” to start.
Step 6 : The erase begins. And when it finish, you will get the successful window.
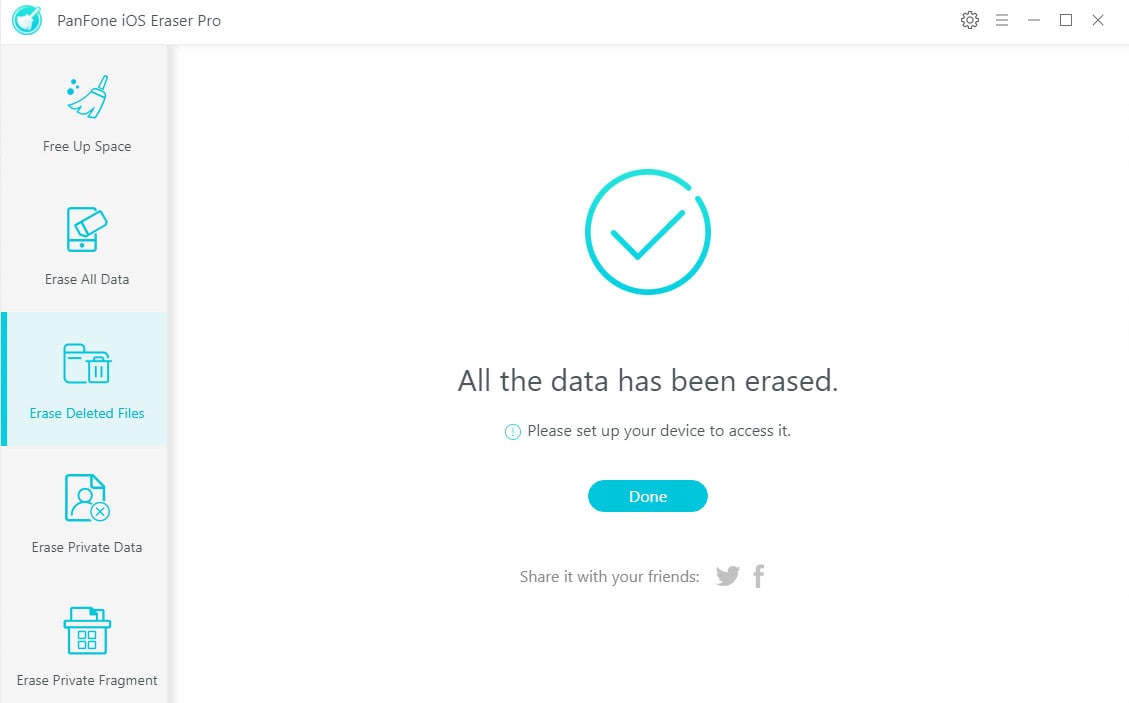
Until go through the above steps, you have really got the "deleted" file removed from your iPhone. If you care about your privacy, concern with your personal data, it is a best way for you to keep your phone security enough. PanFone iOS Data Eraser is a very powerful data deletion tool that worth trying.
Download
Win Version
Buy Now
Win Version